
PRODUCT PHOTOGRAPHY TIPS FOR JEWELRY MAKERS

BY JOANNA CRAIG
We all know great product photography leads to more sales. But how to you take IG-worthy photos when you don’t have a budget for professional photography? Joanna Craig, Founder of Olim Clay Co. has put together some amazing tips you can implement ASAP to take impactful photography from your home!

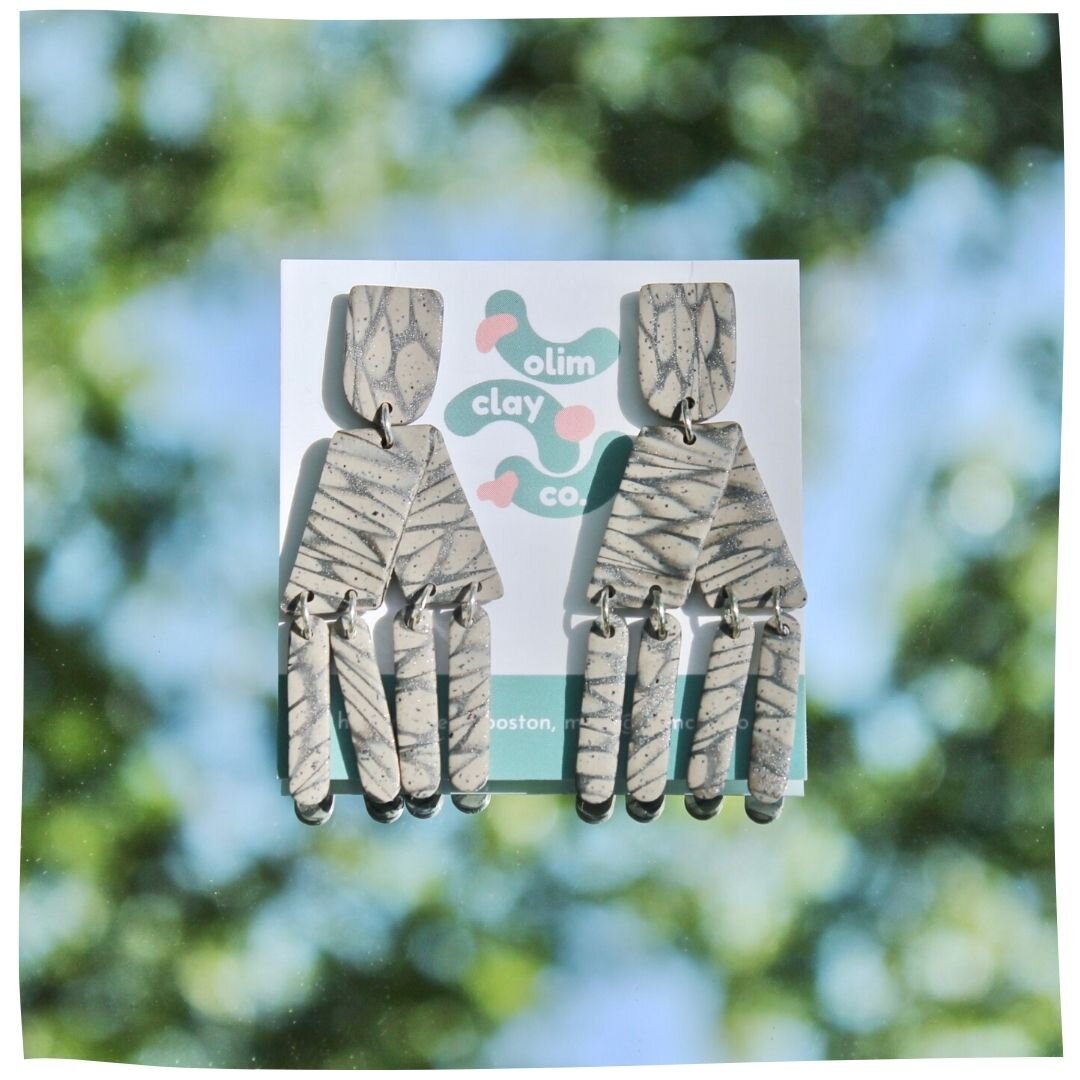
Tip 1/6
To keep things hygienic when taking photos of your earrings on a model, try taking the photos before you've finished attaching the earring posts. Use a piece of sticky tack to attach a temporary post to the back of the earring, take the try-on photo, and then remove the temporary post and replace it as you normally would with a permanent post.

Tip 2/6
Find interesting and unique photo backdrops at the dollar store! Grab a roll of patterned contact paper and unroll it onto two pieces of foam board, which can also be found at the dollar store or craft store. No need to spend a ton of money on fancy backgrounds!
Tip 3/6
If there are distracting shadows in your photos, try bouncing the light to reduce them. Take a piece of plain white paper and face it towards your light source. Move the angle of the paper around until you see the shadows disappear.
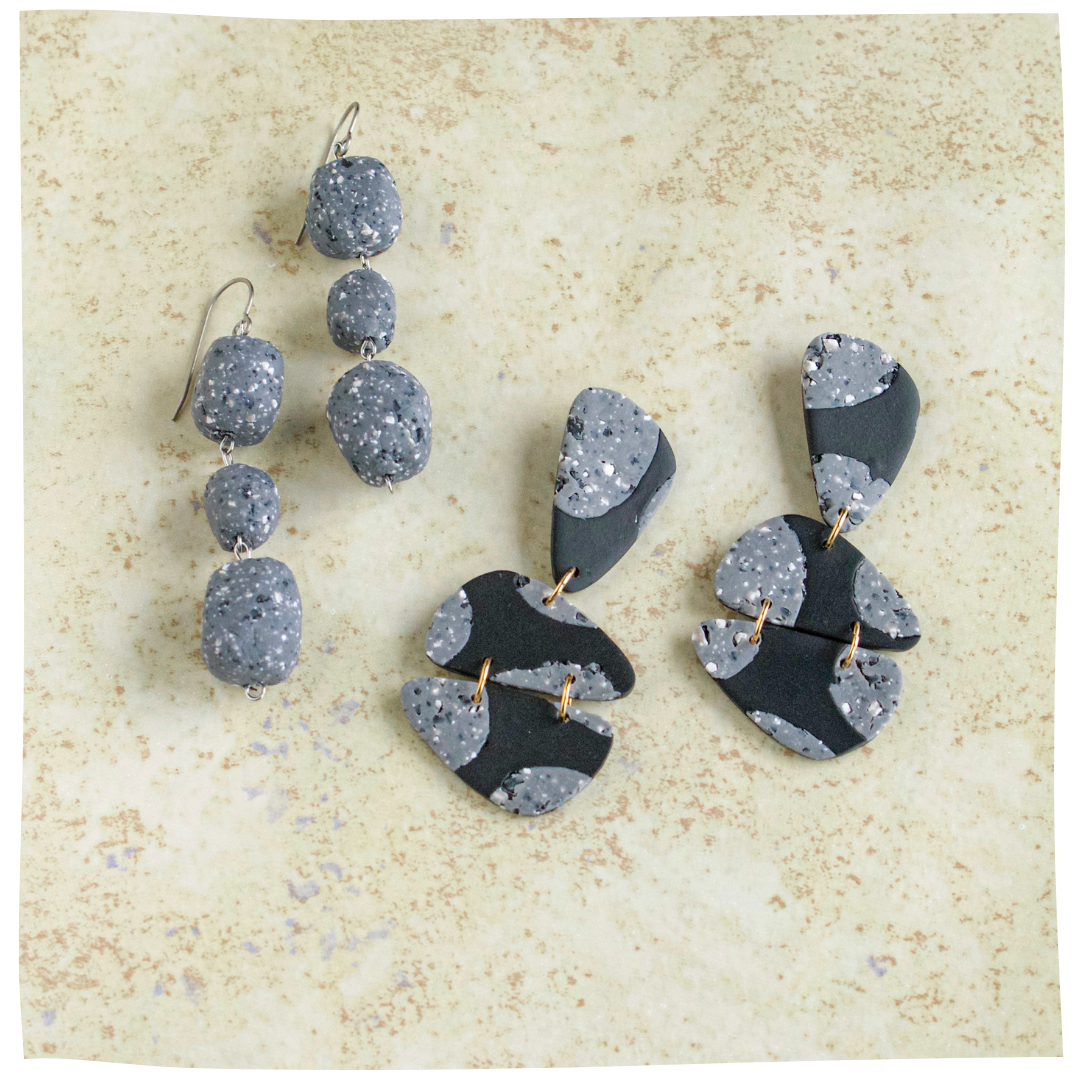
Tip 4/6
Create a blurred background for your flat lays to elevate the product to the foreground. Find something tall, or roll up a piece of cardstock paper, and place it underneath your product but on top of your background. Make sure the object cannot be seen underneath your product. Take your photo from above, making sure to focus your camera on your product, and watch as the background blurs behind it!

Tip 5/6
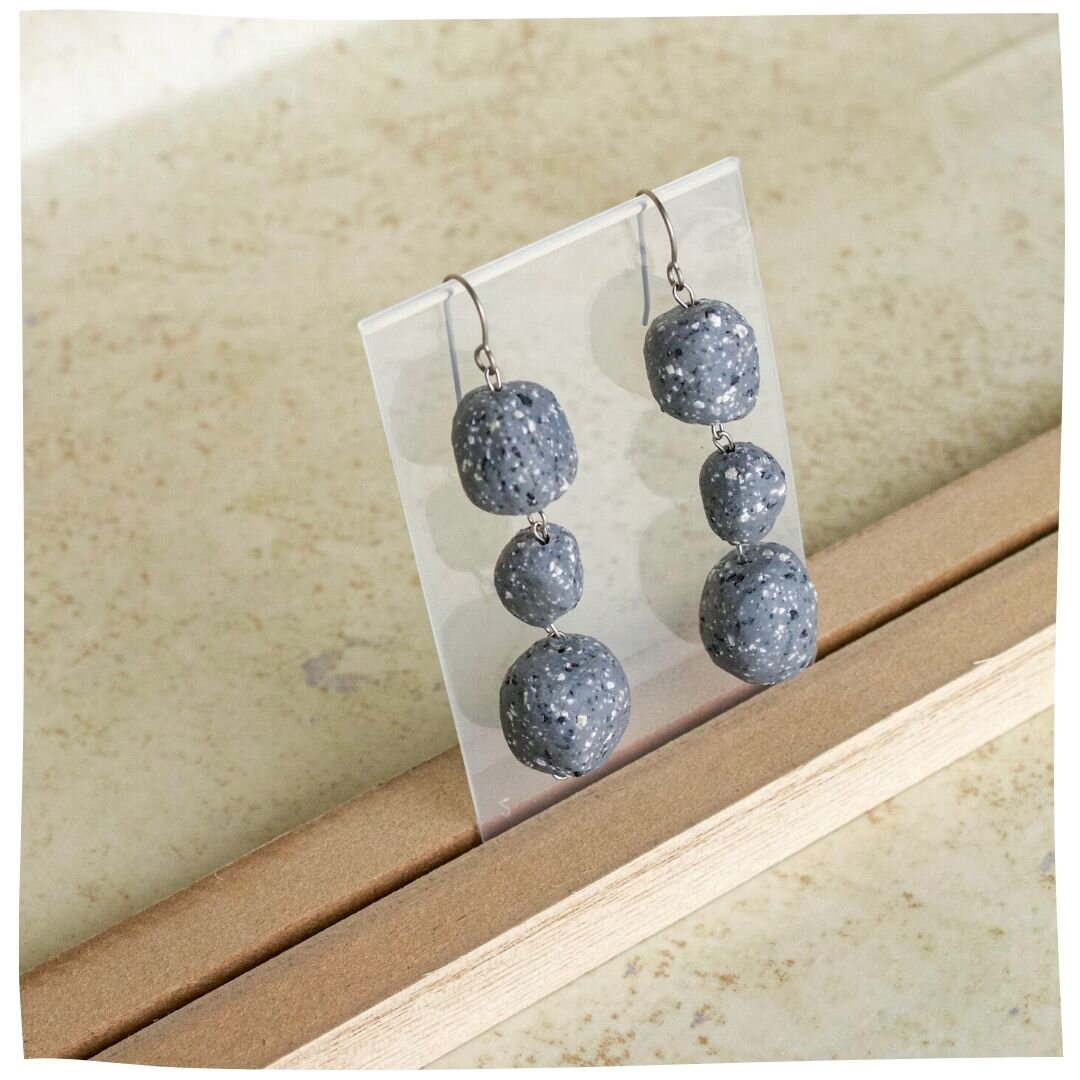
You can use any object to display your earrings by using some sticky tack to turn it into a display! Simply find an object you'd like to use, and then attach some sticky tack to the back of your earrings and stick them to the object. This works best when you have not already attached permanent earring posts.

Tip 6/6
Create a floating effect in your photos by placing your product on top of a mirror. Adjust the angle of the mirror to have it reflect what you want to be in the background, and then take the shot. Crop as needed to make it look like the product is floating on the surface!
ABOUT THE AUTHOR
Joanna Craig founded Olim Clay Co. in the summer of 2020 out of a desire to bring elements of nature to life in unique, handcrafted wearables.
The word "olim" is a Latin word meaning "one day" or "once upon a time," and was selected to convey the feeling you get when you are out in nature and all of a sudden you want to take every trip and summit every mountain and quit your day job to live in the wilderness. It's the recognition that one small moment during a hike or one quick photograph of a beautiful lake can change your life, and the desire to capture those moments and take them with you. Each handmade item is thoughtfully designed and made by Joanna in Medford, MA.